Configure a multibuy promotion
Business Goal
Create a tiered Multibuy offer that encourages customers to purchase more units per basket while protecting margin through deliberate base-price, cost, threshold, and zone choices. This workflow creates a Multibuy; an N+1 offer is configured as an N+1 Mechanic in a Window in Promo PlannerPromo Planner.
Step-by-Step Instructions
Step 1: Open the Multibuy workspace and set the scope
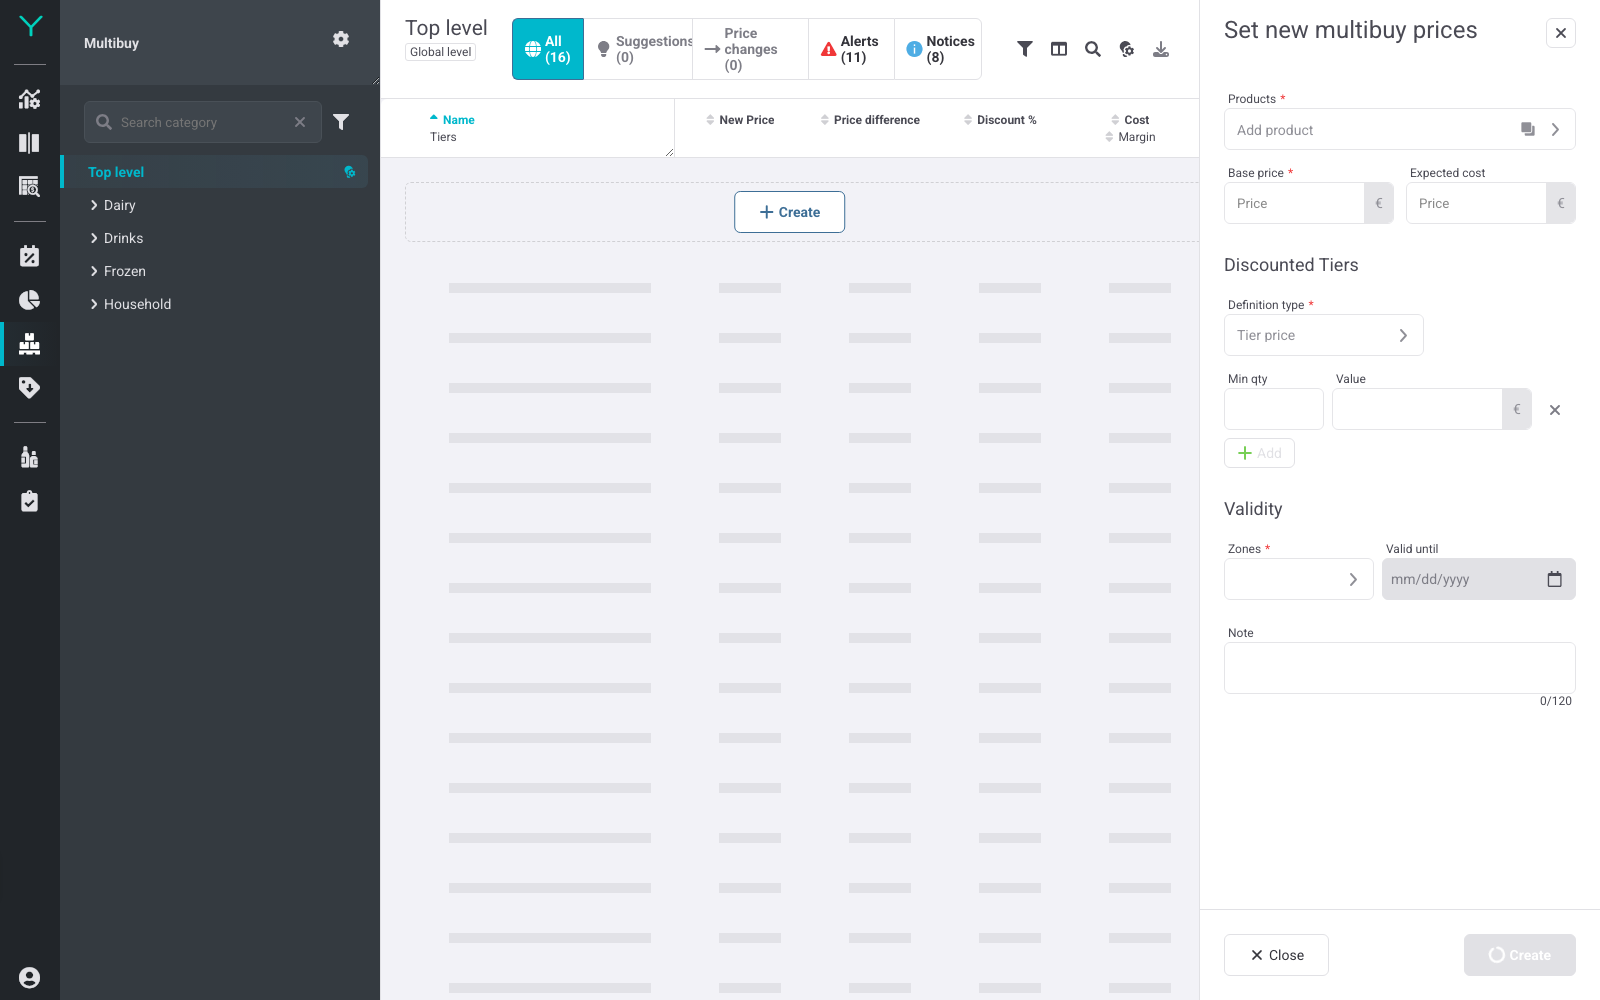
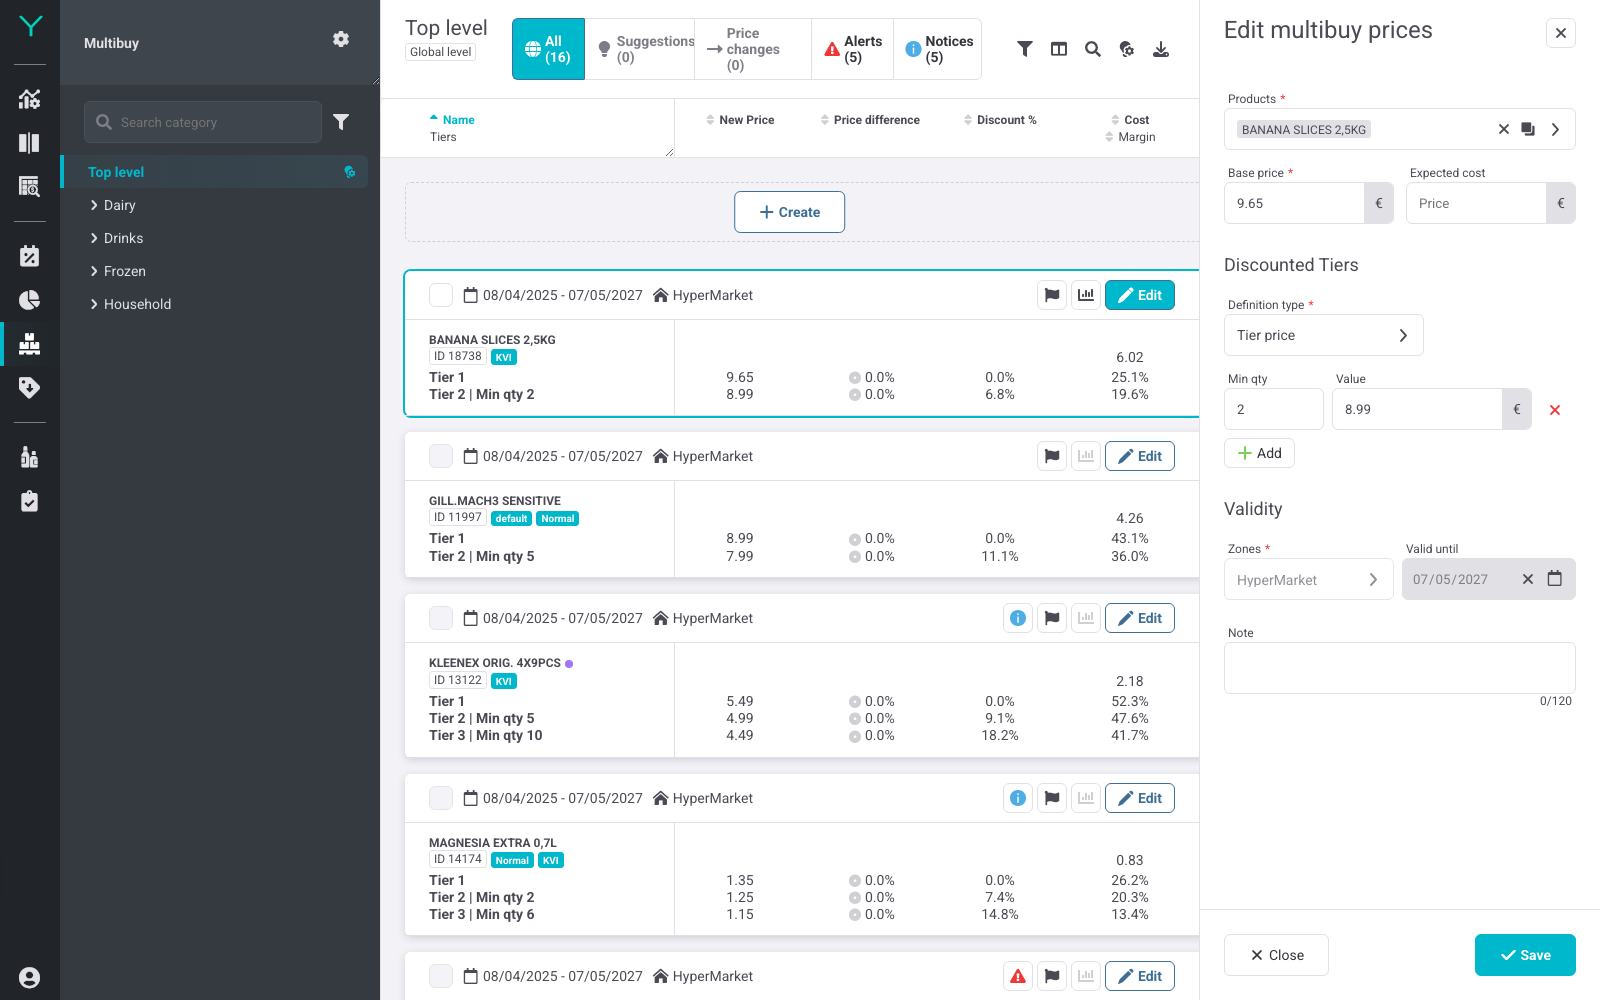
Go to SPECIAL PRICING > Multibuy. In the category tree, select the appropriate category or keep Top level when you need to review the broader assortment. Use the All tab to view existing Multibuy configurations and the category search to narrow the working set.
Business Reason: Selecting the correct assortment scope prevents an offer intended for one category from being created or reviewed against unrelated products. Reviewing existing tiers also helps maintain consistent customer-facing offers within the category.
Step 2: Check existing offers and exceptions
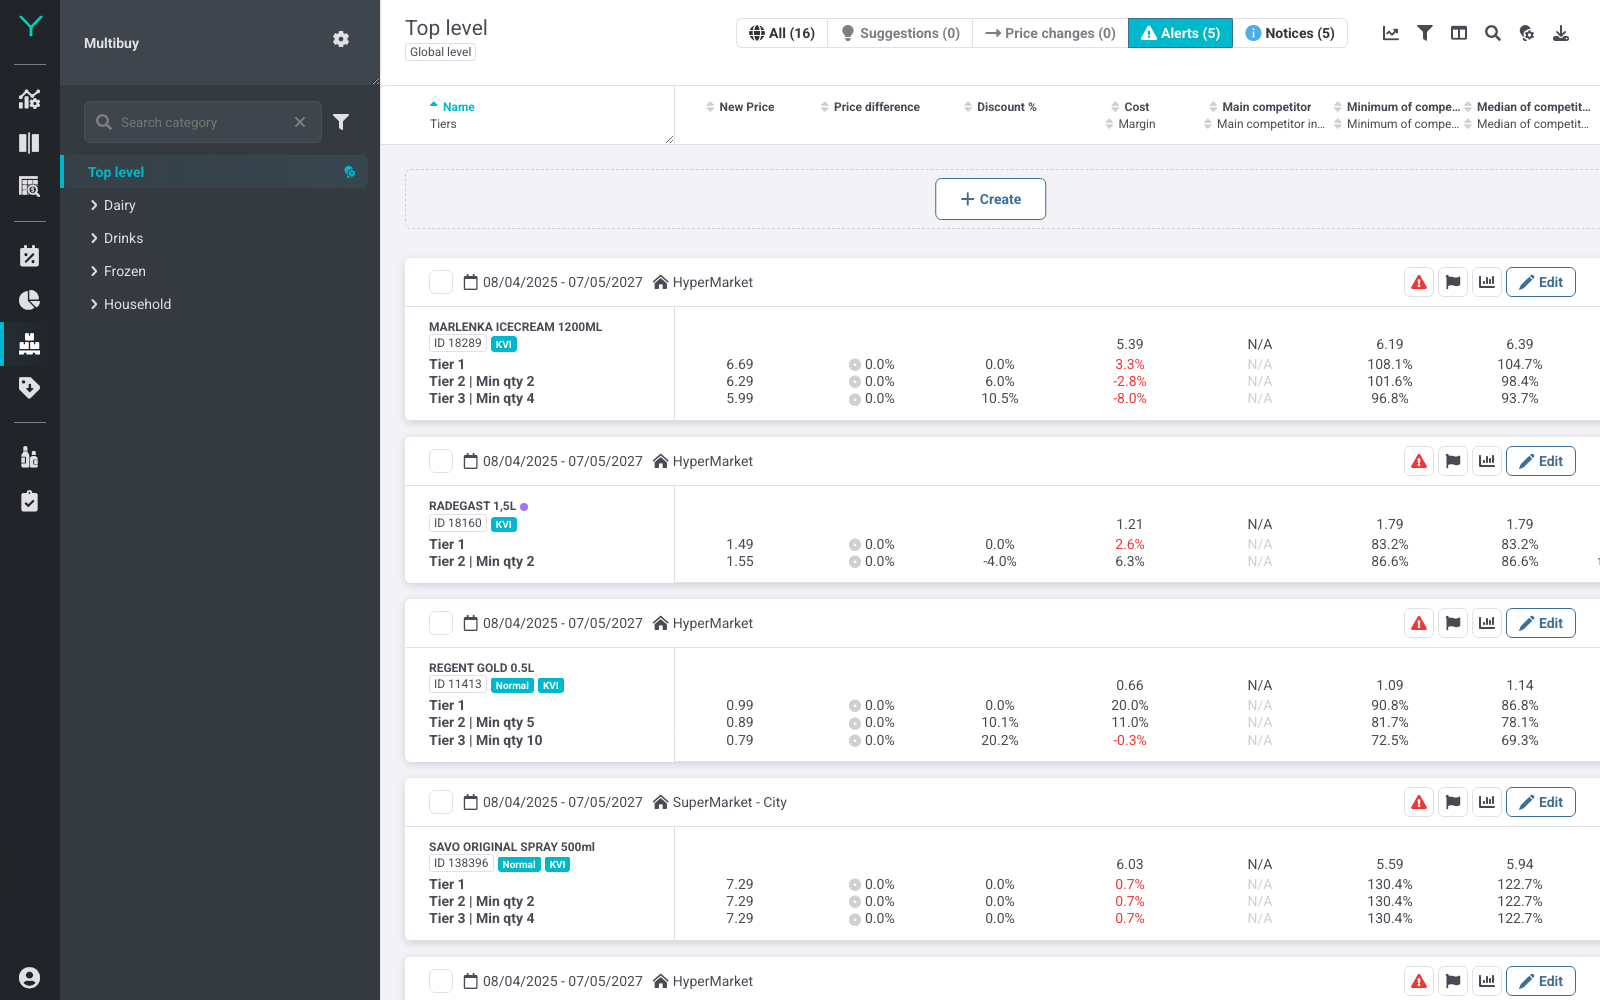
Before creating a new offer, review the displayed tiers, New Price, Discount %, Cost, and Margin for comparable products. Open the Alerts tab to identify Multibuy configurations with margin or market-position issues; use Edit on an affected row to inspect and correct its setup where appropriate.
Business Reason: A Multibuy can increase unit volume but erode profit if discounted tiers are too aggressive. Alerts focus the review on configurations that require attention before similar mechanics are extended.
Step 3: Start a new multibuy configuration
Click Create to open the Set new multibuy prices panel. In the Products field, add the product or products to receive the offer. Enter the Base price, which represents the non-discounted first tier, and enter Expected cost when it is available.
Business Reason: The Base price establishes the customer comparison point for every discounted tier. Expected cost enables a meaningful margin check, so the offer can pursue larger baskets without unintentionally creating loss-making thresholds.
Step 4: Define quantity thresholds and tier prices
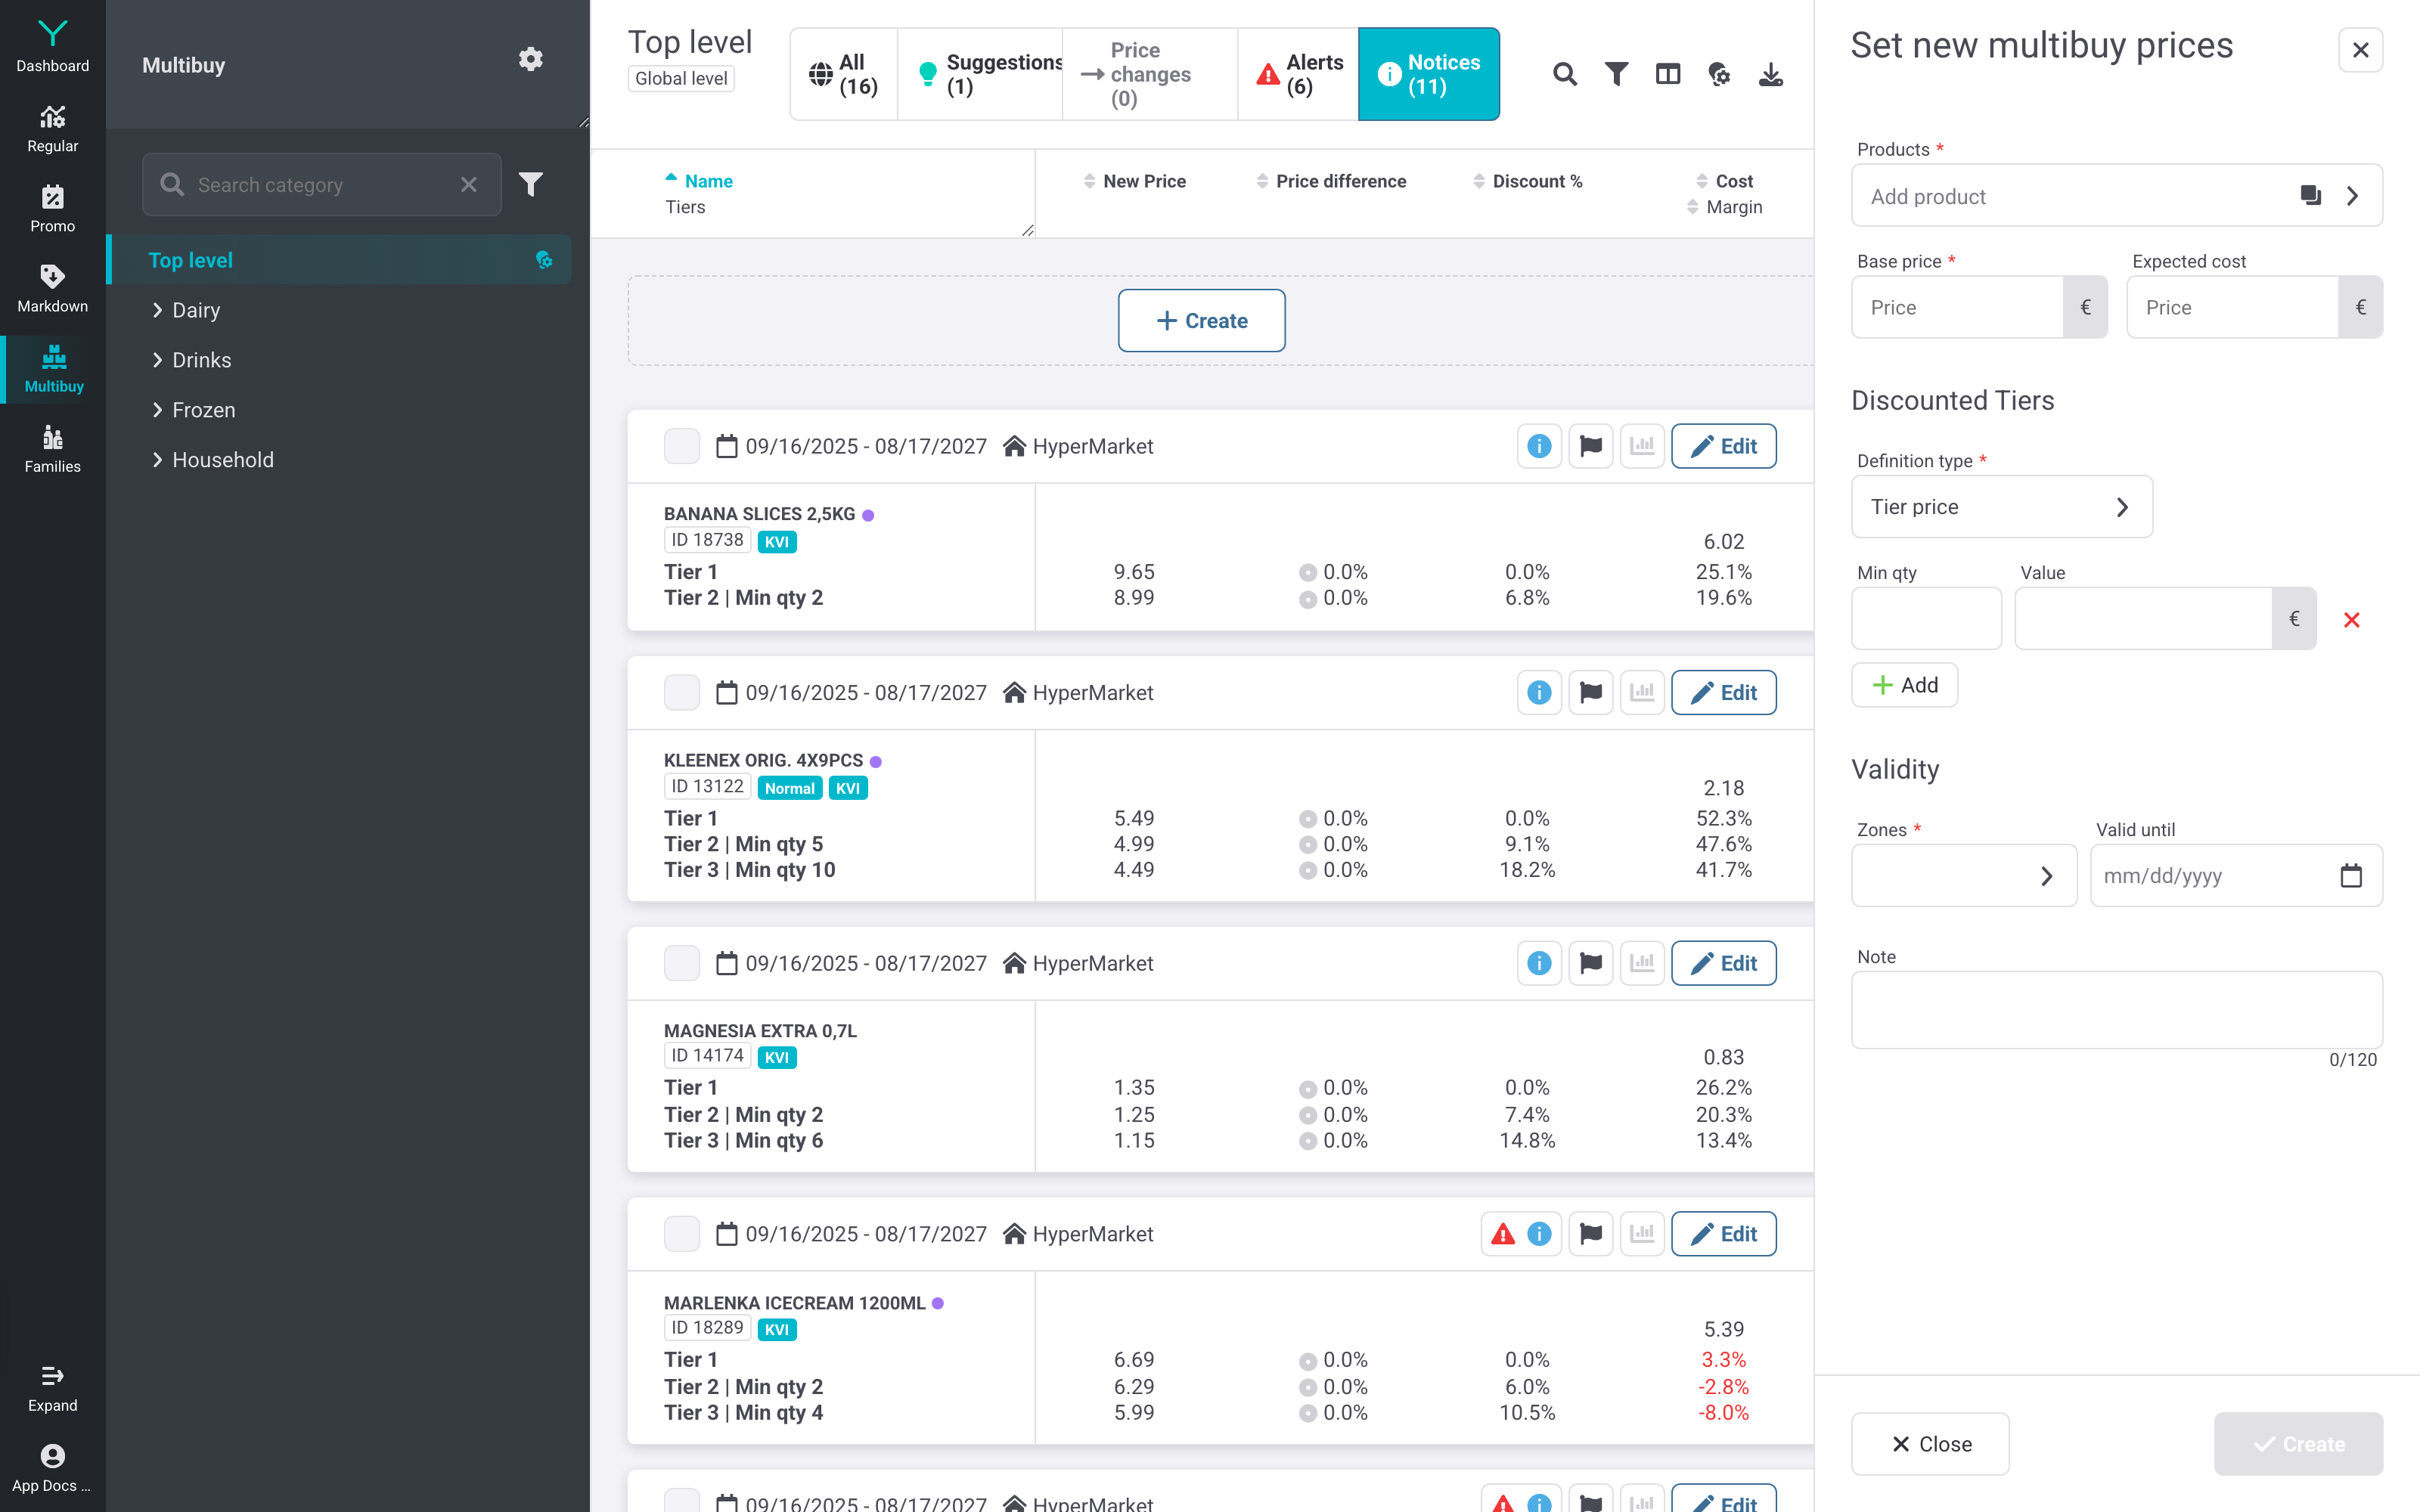
Under Discounted Tiers, keep or select the appropriate Definition type, then enter a Min qty and Value for the first discounted tier. Click Add to create further tiers. Set each threshold at a meaningful Quantity in basket breakpoint—for example, a common repeat-purchase quantity—and ensure each higher quantity delivers a clear but commercially viable saving.
Business Reason: Multibuy uses tiered thresholds such as “buy 2 for X” or “buy 3 for Y,” rather than one Discount %. Thresholds aligned to Quantity in basket make the incentive relevant to actual shopping behavior while preserving a planned discount ladder.
Step 5: Limit validity and save the offer
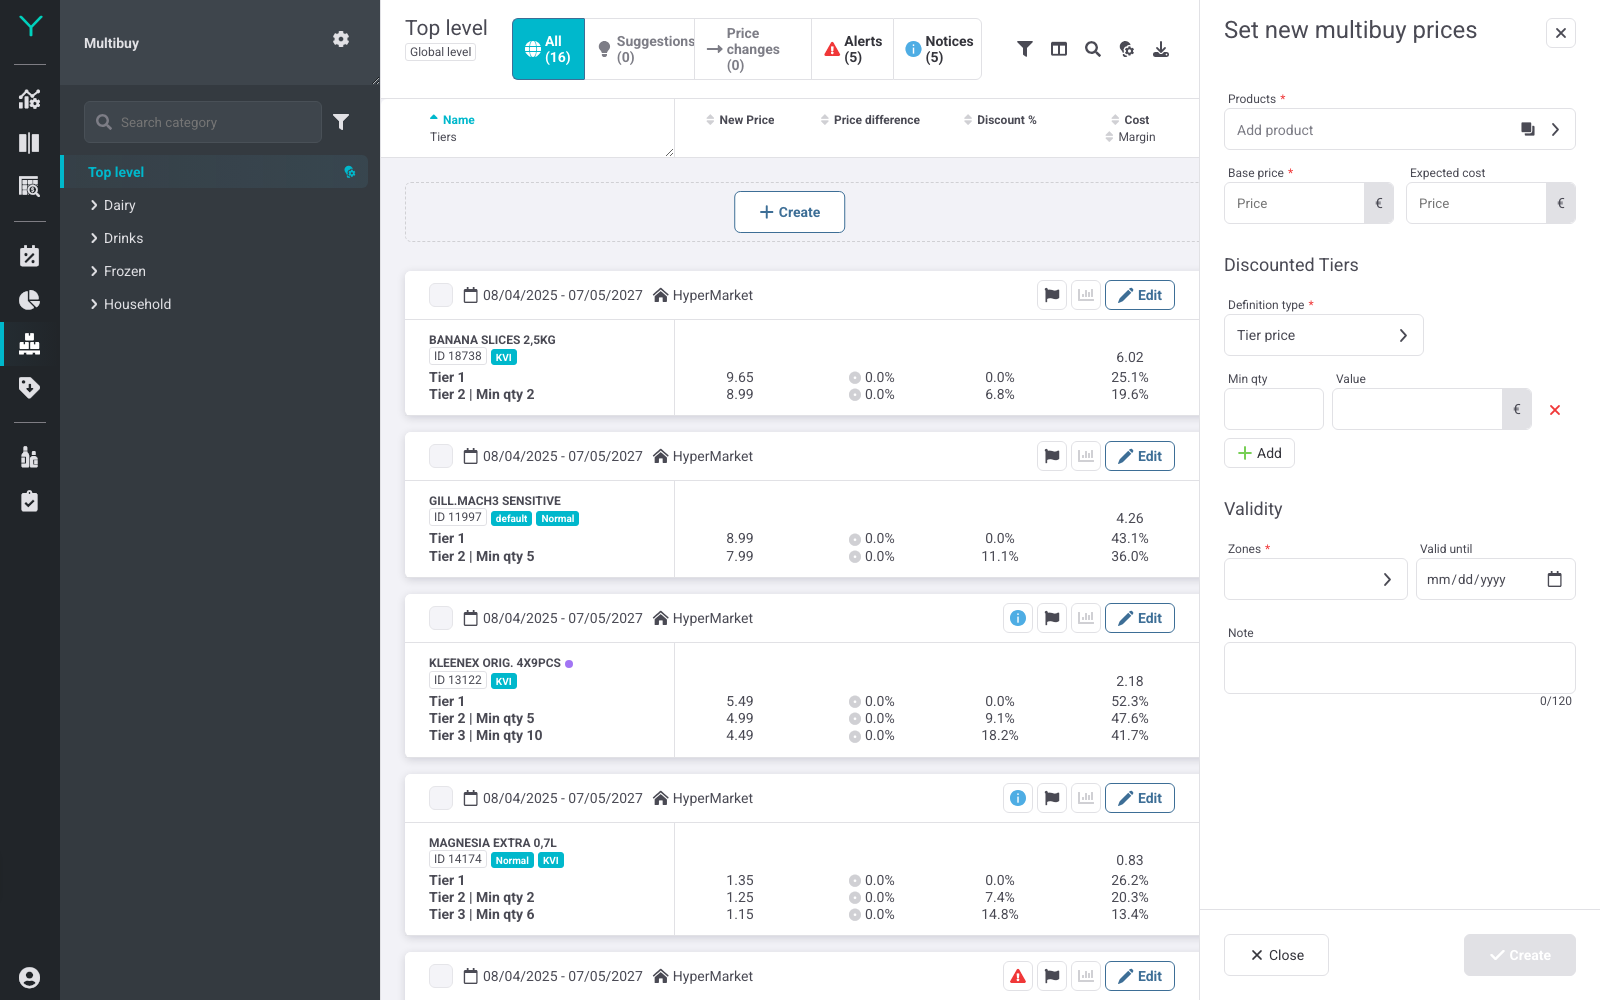
In Validity, select the required Zones and set Valid until. Add a concise Note when the business purpose, supplier support, or operational conditions need to be recorded. Review the entered products, base price, costs, and tier values, then click Create. For later changes, open the offer with Edit, revise the fields, and click Save.
Business Reason: A Zone can have its own pricing, so limiting the offer to the intended store group avoids incorrect rollout. An end date provides governance over the offer lifecycle and ensures that the Multibuy does not remain active beyond its commercial purpose.
Pro Tips
- Use the Alerts tab as a pre-launch control: investigate tiers with low or negative margin before retaining or copying the mechanic.
- Keep tier progression simple and monotonic: each higher Min qty should provide a credible customer benefit without reducing Margin below the acceptable level.
- Use the same Zone selection and validity logic as the related campaign calendar so store execution matches the intended promotional period.
- For an N+1 promotion, create a Window in Promo Planner and select the N+1 Mechanic; do not model it as a standard tiered Multibuy.